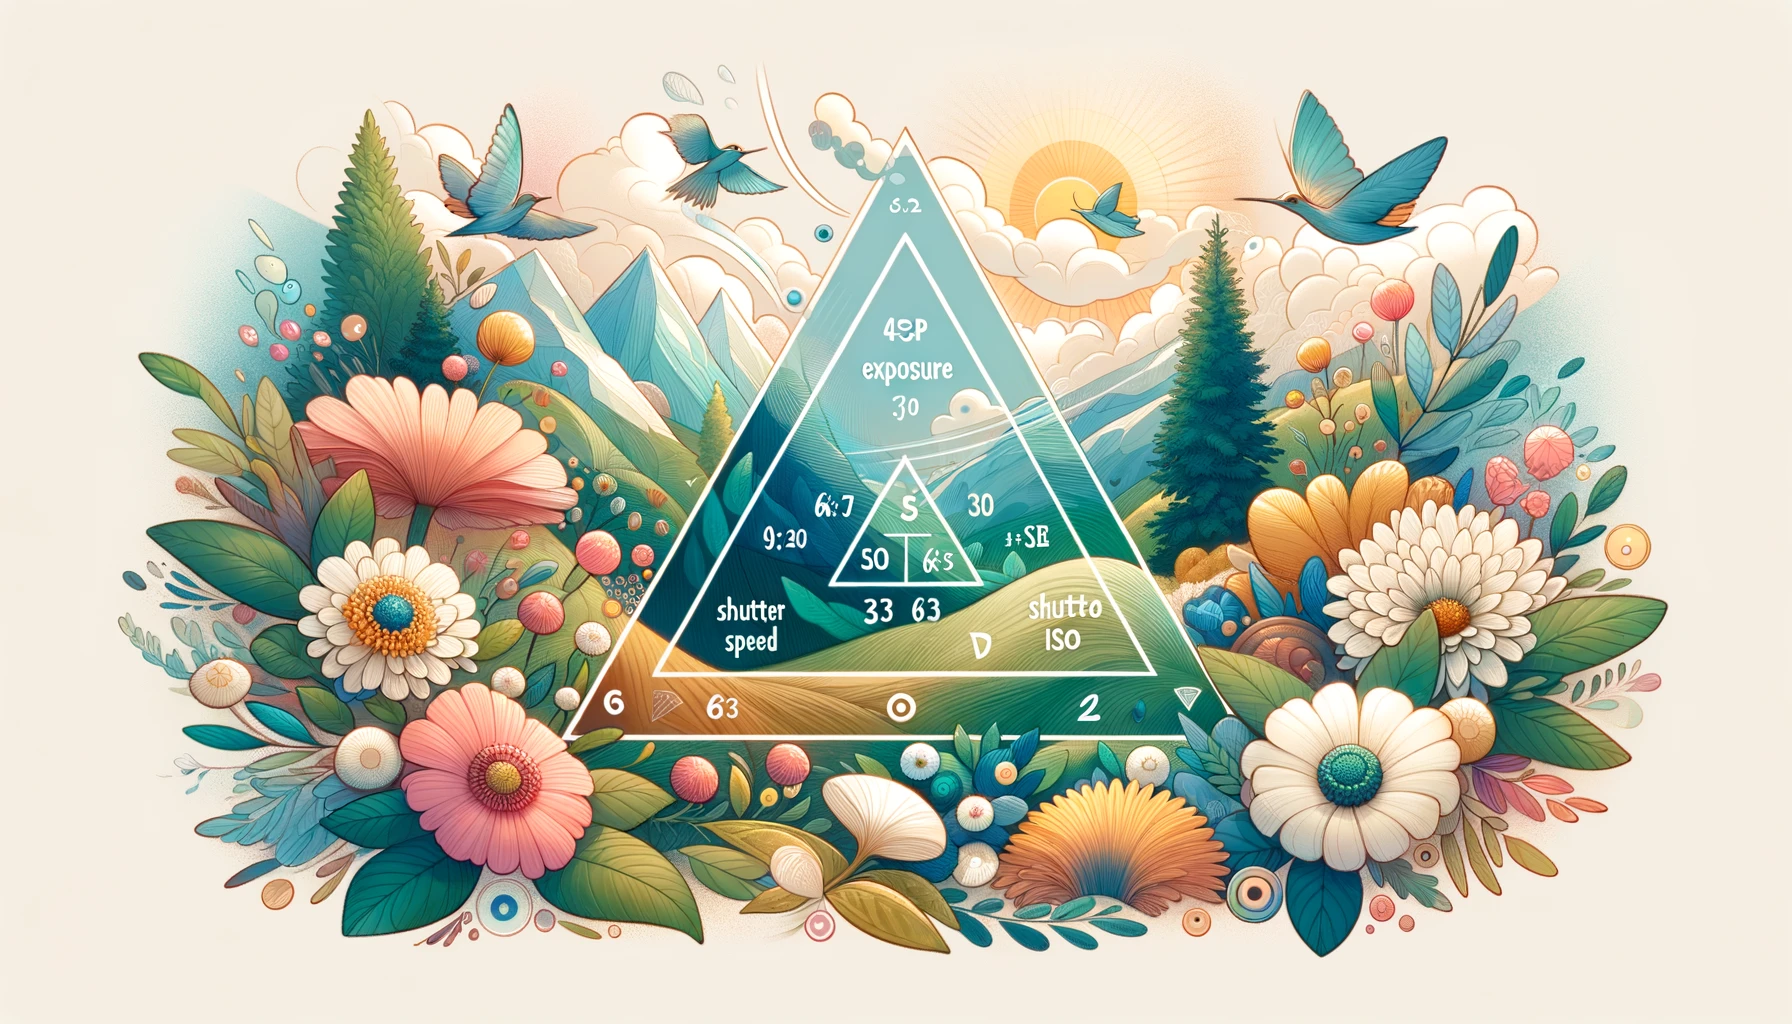
Photography is an art, and like any art form, it requires understanding its fundamental tools. One such crucial aspect in photography is the Exposure Triangle, comprising aperture, shutter speed, and ISO. These three components work together to control how light enters your camera and how it’s recorded. Whether you are just starting out or are a seasoned photographer, mastering the Exposure Triangle is key to capturing stunning images. This article aims to demystify these concepts, offering practical advice on how to balance them for perfect exposure.
Understanding Aperture
Aperture refers to the opening in your camera lens through which light passes. It’s like the pupil of an eye, widening or narrowing to control light intake. The aperture is measured in f-stops (e.g., f/1.4, f/2.8, f/8). A crucial aspect of aperture is its effect on depth of field – the extent to which the image is in sharp focus. A wide aperture (e.g., f/1.4) results in a shallow depth of field, perfect for portrait photography where you want your subject in focus and the background blurred. Conversely, a narrow aperture (e.g., f/16) provides a greater depth of field, ideal for landscapes. Understanding and creatively using aperture settings can significantly enhance your photography.
Mastering Shutter Speed
Shutter speed is the amount of time your camera’s shutter is open, exposing light to the camera sensor. Measured in seconds or fractions of a second, it directly influences the appearance of motion in your photos. Fast shutter speeds (e.g., 1/1000th of a second) freeze motion, perfect for sports photography. Slow shutter speeds (e.g., 1 second) allow more light in and can create a motion blur effect, excellent for capturing flowing water. It’s a powerful tool for conveying motion and emotion in your images.
ISO and Light Sensitivity
ISO measures the sensitivity of your camera’s sensor to light. A low ISO (e.g., 100) means less sensitivity and is ideal for bright conditions, producing crisp, noise-free images. A high ISO (e.g., 3200) can be used in low light situations but may introduce noise or graininess into the photo. The key is to find the right balance – sufficient light sensitivity without compromising image quality. Modern cameras have made great strides in high ISO performance, giving photographers more flexibility than ever.
Balancing the Triangle
The essence of mastering photography lies in balancing the Exposure Triangle. For instance, on a bright sunny day, you might choose a narrow aperture for a deep depth of field, a fast shutter speed to avoid overexposure, and a low ISO for the best image quality. In contrast, an indoor sports event might require a wide aperture to gather more light, a fast shutter speed to capture quick action, and a higher ISO to compensate for lower lighting. The trick is to understand the give-and-take relationship between aperture, shutter speed, and ISO, and how adjusting one necessitates changes in the others. Practice is crucial – experiment with different combinations to see how they affect your photos.
Conclusion
Balancing the Exposure Triangle is a fundamental skill in photography. By understanding and manipulating aperture, shutter speed, and ISO, you can take control of your camera and capture images that truly represent your vision. Remember, there’s no substitute for practice. Each shooting scenario is unique, and with time, adjusting these settings will become intuitive. Keep experimenting, and you’ll find your photography improving with each shot.
Practical Exercises and Examples
Hands-on Exercises with the Exposure Triangle
Practical application is key to mastering the Exposure Triangle. Here are some exercises to help you practice:
Aperture Priority Mode: Set your camera to Aperture Priority Mode (often denoted as ‘A’ or ‘Av’ on the mode dial). Choose a subject and take a series of photos at different apertures. Notice how changes in aperture affect depth of field and light exposure.
Shutter Speed Experiment: Switch to Shutter Priority Mode (‘S’ or ‘Tv’). Try photographing moving subjects like cars or flowing water at different shutter speeds. Observe how fast speeds freeze motion and slow speeds create a blur effect.
ISO Challenges: In a dimly lit setting, experiment with increasing ISO levels. Assess the point at which image noise becomes noticeable and how it affects the overall quality of your photo.
Balancing Act: Take a series of photos in Manual Mode, adjusting aperture, shutter speed, and ISO for each shot. Aim to maintain consistent exposure across all photos, despite changing one or more settings.
Real-World Scenarios
To further illustrate the application of the Exposure Triangle, let’s consider some common scenarios:
Landscape Photography: For landscapes, you’ll typically want a deep depth of field. This means a smaller aperture (higher f-stop number), a relatively slow shutter speed, and a low ISO to ensure sharpness and detail.
Portrait Photography in Sunlight: To highlight the subject, use a wider aperture for a shallow depth of field. Balance this with a faster shutter speed to avoid overexposure and keep ISO as low as possible for image clarity.
Indoor Sports Events: Here, you need a fast shutter speed to freeze action. This might require a wider aperture to let in more light and a higher ISO to compensate for indoor lighting conditions.
Advanced Tips and Tricks
Bracketing Exposure: This technique involves taking several shots of the same scene at different exposures and combining them in post-processing for the perfect exposure.
Using Histograms: Learn to read histograms on your camera to better understand exposure levels and avoid overexposure or underexposure.
Flash and Lighting: Understand how external flashes and lighting can be used to manipulate exposure, especially in low light situations.
Conclusion and Call to Action
Mastering the Exposure Triangle is a journey of exploration and creativity in photography. By understanding and manipulating aperture, shutter speed, and ISO, you unlock endless possibilities to express your vision through your images. Remember, the best way to learn is by doing. So grab your camera, start experimenting with these settings, and watch as your photography transforms.
Encouragement to Share and Engage
We encourage you to share your experiments and results with us. Join our photography community online to discuss your experiences and learn from fellow photographers. Together, we can continue to grow and inspire each other in this beautiful art form.
